
A fern that was glossy in May can look like a bag of crisps by August. The awkward part is that two opposite mistakes — too little water and too much — both produce brown fronds, so the usual advice to "water more" or "water less" is a coin toss. Look at how the brown is behaving and the plant will usually tell you which way to go.
Before you change a single thing, run your fingers over the damage. Texture matters more than colour here.
Worth ruling out pests as well. Scale insects and mealybugs suck sap and leave fronds yellowing and browning in patches; check the undersides of leaves and the joints where stems meet the crown. A squish with a cotton bud dipped in methylated spirits deals with small infestations.
Most ferns sold as houseplants evolved on damp forest floors, and their fronds are thin sheets with a lot of surface area. They lose water constantly, and a radiator, an air-conditioned room or a hot windowsill strips moisture from the air faster than any watering can can replace it. Crispy edges on a fern in damp compost almost always mean the air, not the roots.
Fix the room rather than the plant:
Misting gives a brief lift on a hot afternoon but it is not a solution, and in still air damp leaves and fungal spots go together. Improve the environment and you can put the spray bottle down.
Watering every Sunday is the most common cause of brown fronds in ferns, because ferns differ enormously. A Boston fern in a warm sitting room may want a drink twice a week in summer; a bird's nest fern in a cool hallway might need one a fortnight. The compost is the only honest guide.
Push a finger two to three centimetres into the compost. Damp? Wait. Dry at that depth? Water thoroughly, until it runs out of the drainage holes, then empty the saucer. A small daily splash is worse than either extreme, because only the top layer gets wet and the roots below stay dry.
Maidenhair ferns are the exception to the rule. They sulk if the compost dries out at all, so keep theirs consistently moist but never sodden. Always use tepid water; a cold tap straight onto warm roots is a shock most ferns don't need.
Mushy brown fronds and a soft, dark base are a drainage problem wearing a watering problem's clothes. If the pot sits in a full saucer, if there's no hole in the bottom, or if heavy compost stays wet for a fortnight, the roots suffocate and rot.
Deal with it now rather than later:
Bird's nest ferns deserve a special mention: water around the edge of the pot, never into the rosette. Water sitting in the crown is one of the few reliable ways to kill them.
Ferns want bright light, not blaze. A metre back from a sunny south window, or an east- or north-facing sill, suits most of them. Direct midday summer sun scorches fronds into pale, brittle brown patches, usually on whichever side faces the glass.
Fertiliser causes crispy tips too. Feed at quarter to half the strength recommended on the bottle, once a month through spring and summer, and not at all from late autumn to early spring. If the compost surface has developed a pale crust, flush it: run tepid water through the pot three or four times, letting it drain fully each time. That leaches out the salts that burn fine roots.
A fern that has been in the same pot for three years will brown off no matter how carefully you water it. Roots packed solid leave no room for compost to hold both moisture and air, and water rushes straight through. Repot in spring every twelve to eighteen months, going up one size — two to three centimetres wider is plenty. Set the crown level with the compost surface rather than burying it.
Water quality matters more for some species than others. Maidenhairs and other fine-leaved ferns can develop brown tips in very hard water. Letting tap water stand overnight helps with chlorine but does nothing about the minerals that make water hard; rainwater or filtered water is the better answer if yours is stubbornly hard.
Work through this in order and give the plant time to respond:
New fiddleheads unfurling from the centre of the crown are your sign that the fix has worked. If the base of the plant is soft, dark and smells sour, the rot has reached the crown and there is nothing left to save. That's not a failure on your part. Next time, start with something forgiving such as a holly fern or a bird's nest fern, and save the maidenhair for the bathroom windowsill.
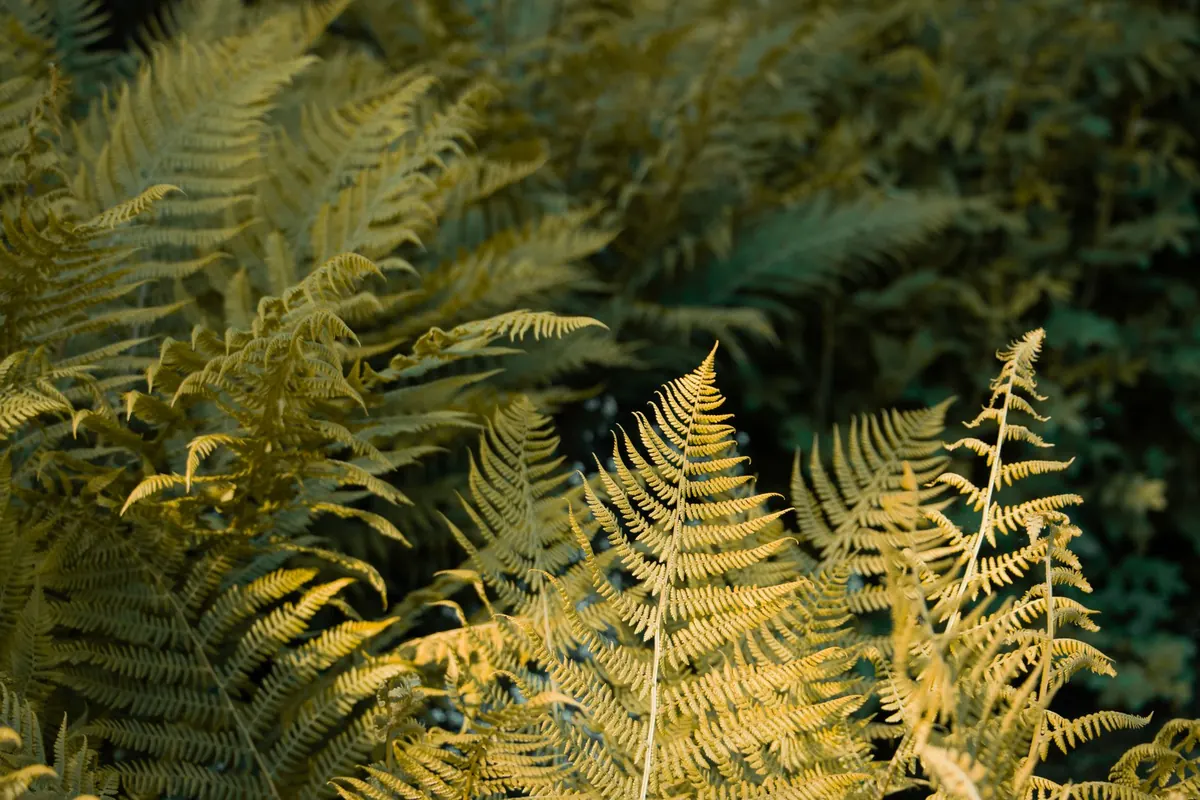
Photo: Henrik Verle / Pexels

Compact ferns for pots and narrow, shady courtyards, chosen for spring, summer, autumn and winter interest, with...
Eight planting combinations that carry a damp, shady UK border through the year, pairing ferns with hellebores,...
A step-by-step guide to collecting, sowing and raising ferns from spores in the UK, from the first green film to...

Your guide to growing and identifying ferns.
